In this post, I will quickly walk through how to add a custom favicon to a WordPress site. If you are not aware what a Favicon is it is the tiny image that rests in your tabbed view in most browsers. It will also show in bookmarks and social bookmarks.
How to Add Custom Favicon to WordPress Site
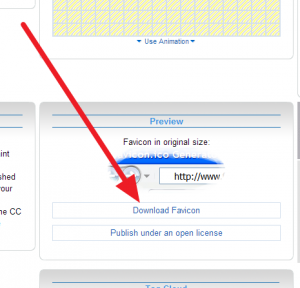
1) Build you favicon using the below link. I typically upload an image and have it match image constraints to fit within a square:
http://www.favicon.cc/
2) Save your favicon to your desktop:
3) Change your file name to favicon.ico (yes, you must change the extension)
4) Upload your favicon.ico file to your root directory via FTP (or add to WordPress via “media”). If doing this via FTP upload directly in your public.html folder.
5) Go to Appearance > Editor | Click on “header.php” in the right column. Hit Ctrl + f (CMD + f Mac) and find <head> and place the below tag just below this:
<link rel=”shortcut icon” type=”image/x-icon” href=”/favicon.ico”>
That’s how you add a custom favicon to WordPress!


